
In the past days, just a luxury found in hotel rooms, bathroom ceiling heaters can now be installed in every home with an ease.
By providing instant warmth in what is often a cold room, bathroom heaters offer the ultimate comfort and they contribute in adding the value to the house. If you are thinking about installing a bathroom ceiling heater, please keep reading for some safety tips and considerations you should know before you buy one to improve your home.
Ceiling Heaters Go on the Ceiling
Despite the fact that hot air rises, bathroom heater manufacturers design ceiling heaters to go on the ceiling in order to prevent burns and scorching and minimize the risk for the electric shock. For that reason, the ceiling heaters should not be installed in the floor or on the wall.
Timer is Better than a Switch!
Because the hot air rises, it is easy for bathroom ceiling heaters to overheat if they are left on for a long period time. When a ceiling heater overheats, it typically has a safety switch that turns the unit off. However, repeated overheating can lead to long-term damage and eventual product failure.
To prevent your bathroom heater from being left on for long periods of time, try to install a timer instead of a traditional on-off switch.
Away From the Shower
Always install a ceiling heater far from the bath or shower. The excessive, built-up moisture cannot only damage the unit over the time, but it can also cause the electrical failure or a possible electric shock. Instead, you are supposed to install your bathroom ceiling heater in the center position of your bathroom.
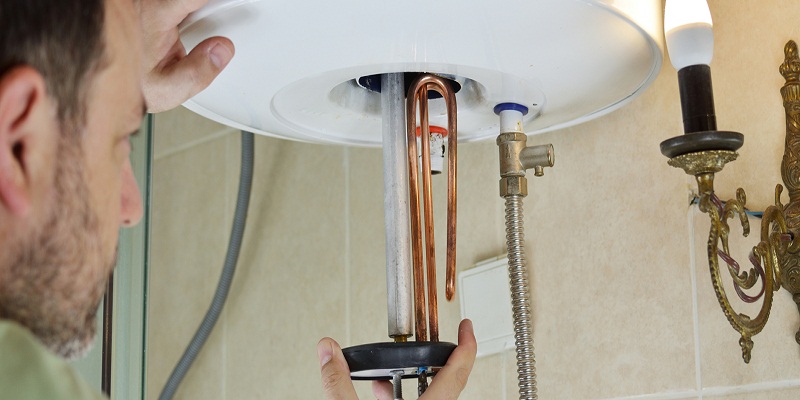
Use a Bathroom Heater
Specially manufactured bathroom heaters are made for the bathroom, and it means that they are made to be waterproof and withstand room moisture. Installing your own makeshift heater out of a standard heating unit is greatly dangerous, particularly when you are dealing with a ceiling mounting.
Consider Multi-Function Capability
Many bathroom ceiling heaters do more than heating your bathroom. You can also purchase a heater that can act as your bathroom fan, emit standard light, ventilate, filter air, and even offer air freshening. If you are tight for ceiling space, consider opting for a multi-functional unit.
Though it is not a very small device, it does not narrow your bathroom space as it is in the ceiling, so if you have a small bathroom, you can still go for this option. For more details, visit Omni Home Ideas Gravatar.
Worn out sash cords may be the culprit when a double hung window stops operating smoothly. Time takes a toll and eventually sash cords wear out from use. This is the perfect opportunity to make a home improvement by upgrading to a metal window spring. It will take about one or two hours for each window to install a counter balance that is spring-loaded.
- The slender wood frame covering the window sash is the stop bead. Remove it. Now slice the paint next to the stop bead with an ordinary utility knife. This should keep the paint from chipping. Take out the screws and remove the stop bead.
- Use a utility knife to cut the sash cords on each side jamb. Extract the sash window carefully. An extra pair of hands can be useful at this point. Set the window to the side. On each of the side jamb are cord pulleys and they can be unscrewed and set out-of-the-way.
- Note the weight printed on the faceplate of the counterbalance. The window sash weight should not surpass that number. Just use a simple scale to weigh the sash window and you will know if the retractable counterbalance can handle the job.
- It will be necessary to modify the size of the original pulley holes on the side jambs. This action will change the length of the opening to mate the new counterbalance. A Forstner bit and drilling guide are perfect. This bit makes a precise hole with a flat bottom. Go slow on this step because the side jamb can easily be damaged if you let the drill wander
- Go ahead and position the window spring into the proper location. Mark the sketch out of the faceplate on the side jamb right where the cord pulley was positioned. Use the Forstner again to drill a groove on the side jambs. This will permit the faceplate of the window spring to be situated flush in position.
- Discard the old window sash cords and screw in the solid metal wood screws for the window spring. Take a moment to spread paste wax on the side jambs to achieve a smooth, silky, glide.
- Connect the counterbalance to the hooks on the sash after you remove the retractable springs.
- Put the sash into position and test the full range of motion. Now just reconnect the stop bead, caulk the seams, and apply a touch up paint.
Up to a certain window size, one person can do this job, but a pair of helping hands will certainly help you spring ahead with this enduring home improvement project. For more useful ideas, visit Omni Home Ideas’s YouTube Channel.